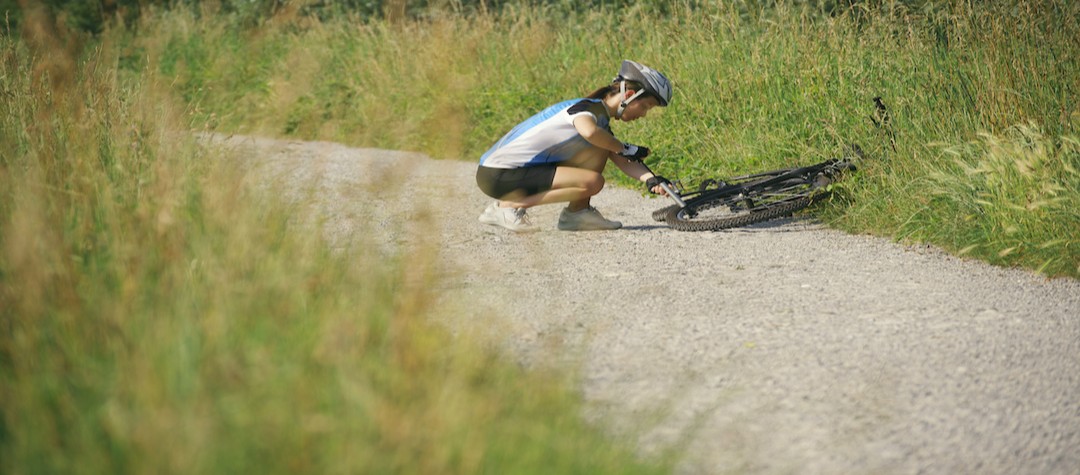
Check out how to make emergency roadside repairs with these t op tips for repairing your bike when at the roadside.
No matter how much regular maintenance you carry out on your mountain bike, it is almost inevitable that you will at some point suffer some form of mechanical breakdown while riding your bike. However, having the right knowledge means that you will be able to quickly and easily continue your ride without having to take a long walk home.
Removing the rear wheel of your mountain bike
- Shift the gears so that the chain is located on the middle front chain ring and the smallest rear gear sprocket.
- Undo and release the rear brakes.
- Turn the bike upside down.
- Loosen the quick release lever.
- Pull back on the derailleur with one hand while removing the wheel with your other hand.
Repairing punctures to your mountain bike
- Use tyre levers to remove the tyre from one side only of the wheel rim.
- Remove the punctured tube, taking care to keep the tube positioned as it was when inside the tyre.
- Locate the puncture on the tube. Carefully inspect the tire to locate and remove the object that caused the puncture (keeping the tube positioned as it was when inside the tyre will help with this process). Once the object has been located and removed, you should also carefully examine the tyre for any other objects before reassembling your wheel. Note, however, that not all punctures are caused by objects, and that some can instead be caused by the tyre being pinched between the wheel rim and the tire beading.
- If you have a spare tube, insert it between the tyre and the wheel rim, taking care to align the valve with the valve hole on the wheel rim.
- If you do not have a spare tube, repair the puncture using the step-by-step instructions on your puncture repair kit.
- Coax the tyre beading back into the wheel rim, taking care not to pinch the tube between the rim and tire as you do so. The last section of tire will require tire levers to coax it into place.
- Re-inflate your wheel.
Replacing the rear wheel on your mountain bike
- With the bike upside down, lift the chain coming from the top of the middle front chain ring, pulling the chain up and backwards away from the frame.
- Position the wheel in the frame lining the chain from the bottom of the middle front chain ring with the smallest gear sprocket.
- Locate the wheel axle into the frame drop-outs and tighten the quick-release lever.
- Reconnect the brakes. Whenever you remove and replace your wheels, always ensure the wheel has been securely replaced and the brakes have been tested before riding your bike!
Repairing a broken chain on your mountain bike
Chains can often break, but this can be avoided by making sure you always shift gears properly to avoid placing undue stress on the chain. However, if your chain does break, then follow this procedure:
- Using a chain-riveting tool, push out the pins in the damaged chain links, taking care to leave one end of the pin in the link-plate hole. Remove the damaged links from the chain.
- Realign the links so that the outer plates of a link overlap the inner plates of another.
- To join the links, use the chain-riveting tool to press the pins back into position and re-form the chain.
Note that the chain will now be shorter and you may not be able to use the whole gear range until you get back home and make proper permanent repairs. Some riders carry a few spare chain links with them to enable them to carry out complete chain repairs on the move.
Repairing buckled wheels
If your wheel has been seriously buckled or warped, then you will need to have it repaired by a professional or replaced. However, for minor damage the wheel can be trued by adjusting the spoke tension. If this is not sufficient then you may need to follow these steps instead:
- Disconnect the brakes to see if the wheel will rotate freely without the brakes in place.
- If the wheel rotates freely then you can ride home and carry out proper repairs once back. Remember, though, that you have disconnected one of the brakes so take extreme care when riding your bike in this state!
- If the wheel will not rotate, you will need to either fix it or face a long walk home! To fix it, place the wheel on the ground, stand on the rim, and use your bodyweight (and considerable force!) to bend the wheel back into shape. Once you have done this you should be able to ride home carefully, but when you’re back, make sure you replace it immediately or have the wheel professionally repaired.
Broken Spokes
Spokes convey a lot of strength to a wheel so if they become broken then do not attempt to continue to ride hard on your bike, as you risk buckling the wheel and causing expensive damage or personal injury! Instead, do the following:
- Remove any broken spokes and then tighten the remaining spokes to add tensile strength to the wheel for your ride home.
- You may not always be able to easily remove broken spokes. If you cannot remove some broken spokes, then wrap them around adjacent spokes so that they cannot interfere with your riding, and then ride carefully home.
- Once at home you should replace the broken spokes.
- Broken mountain bike gear cables
- Remove the broken cable.
- Once a gear cable is broken the derailleur spring will move to its standard resting position. Use the limiting screws on the derailleur to set it and the chain into a fixed position to get you home.
- If the front cable has broken, then set the chain on the middle chain ring using the limiting screw on the front derailleur.
- If the rear cable has broken, then use the rear derailleur limiting screw to set the chain on one of the center gear sprockets.
- Ride home carefully. Once back, replace the broken cable.
Maintaining your bike
If you follow our tips here, you should be able to service your bike if it breaks down on the road and still be able to ride home safely. However, to lessen the chances of a breakdown, you should try to clean and maintain your bike as much as possible.