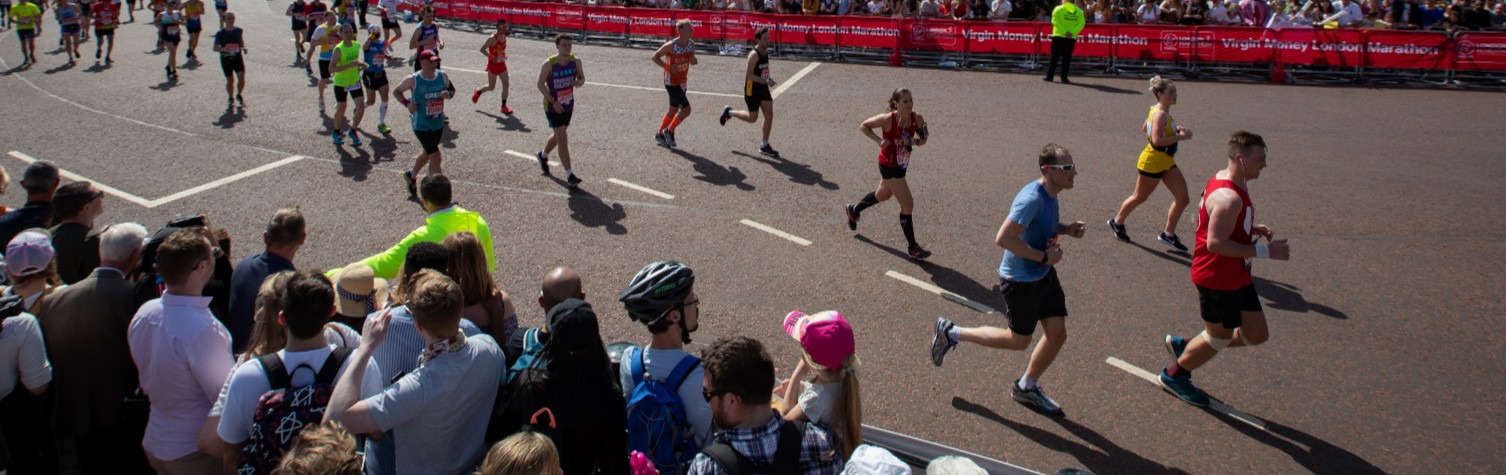
Analysing your running gait can help to solve many aches and pains and prevent many of them from occurring again, says physiotherapist Mark Buckingham, who advises how you can use video analysis to get it right.
To analyse your own running gait on a treadmill you will need someone to video you and have a camera capable of slow motion. Most standard video cameras run at 25 frames per second - which is fine and many phone cameras are also capable of this as well as slow motion which is hugely helpful.
How to video a runner’s gait?
The standard view is from directly behind the treadmill. When filming, ensure that you are directly in the middle or it will affect the accuracy of your assessment. The camera should be far enough away to enable you to capture from at least the middle of the upper back to the feet and preferably be able to zoom in to just the feet.
On the treadmill you will need to be in shorts and barefoot or low, tight fitting socks. Both the walking and the running should be a steady pace and as far as is possible relax and move normally. Aim to capture the following clips of footage:
| Type | Aims |
| Walking | 20 seconds of the whole body |
| 2.5mph/4kph | 20 seconds from the hips down to the feet |
| 20 seconds of the knees down to the feet | |
| 20 seconds just the feet and ankles | |
| Running | 20 seconds of the whole body |
| Steady pace | 20 seconds from the hips down to the feet |
| 7-12kph | 20 seconds of the knees down to the feet |
| 20 seconds just the feet and ankles |
Trying to look at the images on a camera or phone screen is not really good enough, so a link or an upload to a larger screen is advised. Then play the videos back using the slow motion and freeze-frame or frame-by-frame jog forward buttons.
On occasions more will be revealed about the true running style if recorded when tired. It is advisable to go for a decent run and then look at the gait on the treadmill or track and you will see more changes than when feeling fresh.
On the track, point the camera from lane two at the end of the bend down lane one and have the runner run around the inside lane. Start the recording as the runner comes around the bend and the camera should pick them up as they go past. Try to capture the same sections of the body as described above. (Flats or spikes are best - barefoot will make you sore)!
What to look for - the running gait check list:
Pelvis - dip/sway/anterior tilt

The hip should not drop by more than a few degrees and the knee should be directly under the hip.
If the knees are ‘knocking’ together and there is little daylight between them there is insufficient control and strength in the gluteal muscles.
Picture 1 - T his shows as much hip dip as is allowable. There is daylight between the knees and the middle of the knee and is reasonably well under the middle of the hip (see Picture 2 for a poor representation).
Knee rotation - can you see the hamstrings?

If the gluteal strength is poor and the hip flexor and iliotibial band is too tight then the leg rotates inwards. When this happens the hamstring tendons are not ‘square’ behind the knee. The inside hamstring is seen more in the middle of the picture and the outside hamstring is disappearing around to the outside of the knee. In this case look to strengthen your gluteals and lengthen the hip flexor and iliotibial band.
Picture 2 - The hamstrings are not central (the stringy sticking out tendons from the back of the thigh are the hamstrings).
Mid-foot - is the big toe on the inside of foot?

The big toe should be able to be seen on the inside of the foot during the whole of the time it is on the ground. If it is not and the foot is hiding it then the runner is running with their foot too turned out and will be loading the inside of the foot, shin and Achilles more than they should be.
Picture 3 - If the toe is not visible on the inside of the foot, the most common reason is tight calf muscles. This stops the runner from being able to bend the knee over the top of the foot and thus the body takes a ‘path of least resistance’ and the foot turns out, the knee rolls in and the running pattern is set.
Is there a mid-foot bulge on the inside of the foot?
This is closely related to the big toe position and is caused by the same tightness in some cases. The foot should maintain a decent arch on the inside of the foot and not collapse in. The collapse of the arch shows a weakness of the foot, in particular in the tibialis posterior muscle.
This muscle runs down the inside of the shin and under the inside of the foot like a stirrup. It is responsible for holding the arch up and for controlling the impact of the foot as it strikes the ground. Picture 3 shows a poorly controlled arch. If the arch does roll in add some strength work for the tibialis posterior as part of your conditioning.
If you look at these areas and act accordingly, then you will either solve many common aches and pains or prevent many from occurring as well as making your running pattern much more efficient - and that means faster!
All of the exercises for this analysis have been discussed in the biomechanical assessment pages.