Knee pain is a common problem in athletes with the patella tendon one of the main culprits. Find out about the causes and how to address patella tendon issues.
The patella tendon is a thick structure that extends from the bottom of the knee cap to the top of the shin bone. It can become torn and/or inflamed and degenerate with repeated use and particularly with poor biomechanics that put more strain through one area of it more than another.
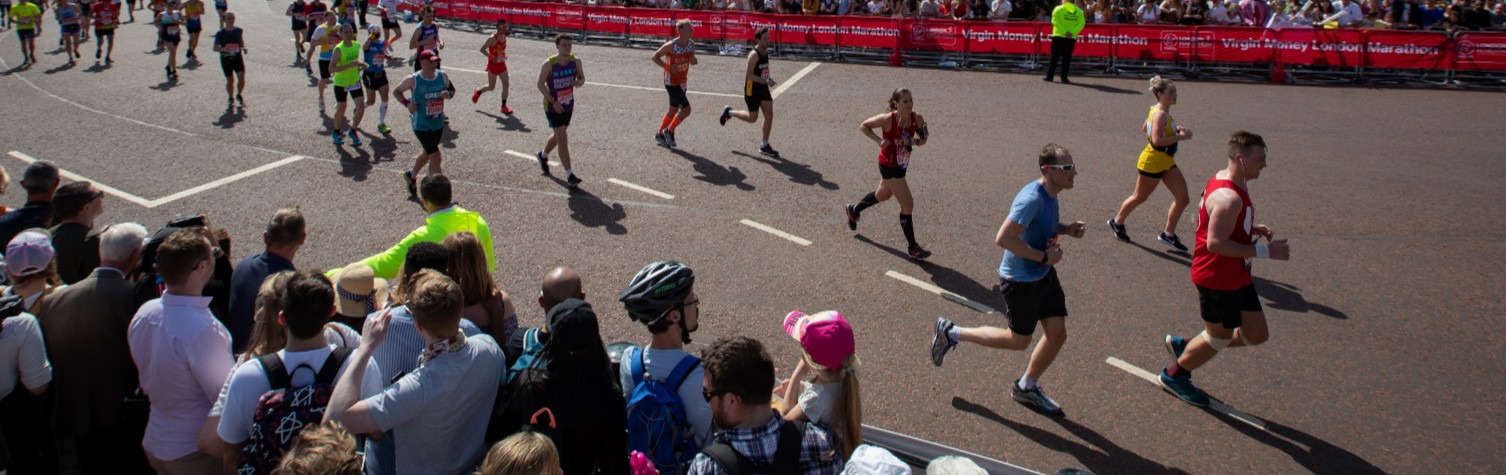
‘Jumper’s Knee’ is the common name for it and it is often seen in sports involving a lot of jumping and impact like netball, volleyball, and events like high jump and steeplechase / hurdles in athletics.
The repeated rapid loading on the knee cap and thus the tendon attachment causes micro tears and damage to a structure which does not have great blood flow, much like the Achilles. It is the build-up of this trauma which does not necessarily heal well, especially if the trauma continues, that leads to degeneration and pain with or without associated inflammatory responses.
Clearly the demands of the events have a big bearing but as said biomechanics play a huge part.
The typical pattern is where the knee cap is pulled towards the outside of the thigh by tightness in the Iliotibial band (ITB). This shift in position alters the way the forces travel through the knee cap and tendon and all the force is concentrated in one small area rather than being evenly distributed across the whole of the tendon attachment. This overloading of one area leads to stress, damage and ultimately pain. Typically, it is the inside edge of the tendon that bears the brunt.
To help this it is essential to sort out your poor mechanics. The pattern is a common one and it is where the hip control by the glutes is poor allowing the leg to collapse inwards over the foot. Tightness in the ITB and hip flexor is part of this but the tightness in the ITB then pulls the knee cap towards the outside whilst the femur or thigh is turning inwards. This ‘perfect storm’ loads the inside of the knee cap and tendon attachment and problems arise.
It is compounded by tightness in the calf muscles, weakness in the foot stabilisers and calf and poor knee cap stability from the quads.
Patella tendon issues to consider
So the things that need to be addressed in any patella tendon issue are:
1. A tight ITB
- This needs to be mobilised and this can be done using a roller two minutes, four times a day (see Picture 1.)

2. Stiffness in the knee cap – tight lateral structures

- Mobilisation of this will involve some assistance - lay on your side and have a colleague put your knee on their leg – your knee should be slightly bent as shown in Picture 2. Your colleague places the heel of their hand on the side of the knee cap and grips around it. The pressure then pushes the knee cap towards the inside as shown. This can be difficult to do and there is a bit of a knack on a stiff knee cap.
- Try the other knee if that is okay to get a feel for it.
- Mobilise the knee cap for a couple of minutes.
3. Stiffness in the part of the tendon that is sore

T he patella tendon becomes sore mostly at the base and slightly more to the inside, as illustrated in Picture 3 .
- There is often a thick and tender part just off of the tendon (see Picture 4.) These areas should be mobilised with a wooden spoon - work into the tight and fibrous tissues (see Picture 5) in the same way you would use a golf ball on a plantar fascia or a roller on a tight muscle.

- Two minutes, two times a day, but do it every other day to allow time for the tissues to respond.
4. Weakness in the Glutes

- A simple test of Glut Medius strength is where you enlist the help of a friend. You lay on your side with the bottom leg bent up and the top leg is lifted straight up and back. The leg needs to take a line behind that made from the shoulder and hip bone. Your friend then tries to push the leg directly down from the ankle (as illustrated in Picture 6.) Good strength is when the leg cannot be moved. If the leg can be pushed down then the Glut Medius is not strong enough to control the leg and pelvis when asked to absorb the forces of 4 times body weight.

- An excellent exercise to initiate Glut Medius strengthening is where you stand closely sideways to a wall, with the outermost foot parallel to the wall (see Picture 7.) The knee nearest the wall is bent up and placed against the wall. The standing knee is bent so that the kneecap is in line with the toes as you look down. The knee (not the foot) is then turned out until you can see most of the foot on the inside of the knee. Hold this position and press the knee against the wall hard into the wall so you are bracing yourself. You will find that after a short moment you will feel the muscles in the outer hip/bum working. There will be other aches in the quads – nerve mind! You should aim to hold this position for 2 minutes and build up to 5 minutes, a couple of times a day.
5. Look at the strength in the foot invertors where important muscles (mostly Tibialis Posterior) absorb the impact of the foot hitting the ground and control the tendency to roll in (pronation)
- Test. You should be able to hold your foot against being pushed out by a partner. (You will need someone to do this for you). The foot should not be able to be pushed away from the starting position shown in Picture 8. If it can then it is weaker than it should be. (It does not matter how strong the person is – it should not move!)

- Treatment – Lay on the bed or sofa on the side to be exercised and the foot over the end or arm (see Picture 9.) Turn foot up and in against an exercise band - 3 x 15 for very heavy theraband (black or purple or an old inner tube). It is only the foot that should move, not the whole leg. 3 x 15 should be manageable but tough. If you cannot repeat 15 reduce the tension; if it is easy then increase the tension. Alternatively use a band or pulley system in the gym and turn the foot in against the resistance as in Picture 10.

6. Check the calf length and strength

To test the calf length on yourself, ask a friend to push your foot up and see how far it goes easily. It should go 10 to 20 degrees beyond 90, see Picture 12.
You have to make sure the foot does not twist to the outside as you push. Allowing the foot to turn out leads to a false impression of good calf length. Keep the knee straight. Tightness in the calf needs to be stretched or rollered as in Picture 13.

- Calf / Heel Rises Test. For steady distance running work 3 x 25 single leg calf or heel rises off the edge of a step (see Picture 14) with around 20kg to 25kg on your back off a 2 min recovery is a good standard strength standard for a calf to see if there is an inherent weakness.

- Treatment is to build up from the number of reps that you fail at to the 25 required, 3 sets in a row with a 2 min recovery. If you fail at 10 then that is where you start from. Do 3 sets of as many as you can to failure once a day and it will improve.
7. Small knee bends – will help
Stand balanced on one foot and bend the knee directly over the middle of the foot to the point that you cannot see the toes (as in Picture 15.) Repeat these 3 x 25 reps. Ensure that you move slowly and really concentrate on the tight activation of the thigh muscles, especially the inside one.

If in doubt, or the pain does not change within a couple of weeks, seek help. You will have to work on your mechanics as well to see the best resolution. Good luck!